Rubik’s Companion Cube

I know the cube loves me because, no matter how I turn it, it’s always solved.
Un breve tutorial per gli appassionati di Portal (è di prossima uscita Portal 2) che vogliono costruirsi un Companion Cube seguendo piccoli facili passaggi a partire dal giocattolo nerd per eccellenza: il cubo di Rubik.
Occorrente:
– 1 cubo di Rubik (magari quello che non siete mai riusciti a risolvere o quello che a furia di risolverlo sta perdendo il colore)
– fogli adesivi lucidi (o in ogni caso più resistenti della semplice carta)
– 1 taglierina affilata (o in alternativa un paio di forbici dalla punta arrotondata)
– 1 righello di metallo (perchè il metallo è sempre cosa buona e giusta)
– nastro bi-adesivo
– 1 tappetino per tagliare (o una scrivania del ‘700 che non utilizzate più)
– 1 immagine già pronta e disegnata a 300 dpi che potete trovare QUI
Le istruzioni sono molto semplici: rimuovete i vecchi colori e incollate quelli nuovi seguendo le indicazioni passo passo che trovate sotto approfondimento.
[more]
Create your graphics. If you’re going to make a Rubik’s Companion Cube, you’re in luck! I have a 300 dpi file ready for you. If you’re making something else, you’ve got some more work to do. Stickers on a Rubik’s cube are roughly 0.6-0.61″ square. If you want to be sure, measure the size of the stickers on your cube. For the graphics, I recommend making your picture, slicing it into those 0.6″ squares, and putting crop marks around them. To make life easier, I’ve got a 300 dpi template for that as well.[/more]Remove the existing cube stickers. Take your sharp knife, slide it under a sticker’s corner, and pull the sticker back a bit. Pull the rest of it off with your fingers. Careful! Try not to tear the sticker or dig into the cube with your knife. When you’re done, you should have a sad, naked cube.
Print your graphics. You may want to measure the size of the resulting squares to make sure they’re about the right size, but no one’s going to notice if you’re off by ten mils.
Put a laminate sheet across the graphics. Cut the laminate sheet to fit over the printed graphics. Peel back part of the laminate’s backing. Stick it to the page. Remove the backing, carefully smoothing the laminate forward and removing any air bubbles as you go. If you end up with an air bubble, find the smallest pin or needle you can, puncture the bubble, and squeeze out the air. (Bubble-removing tip thanks to ctate.)
If you’re using plain double-sided tape, put double-sided tape on the back. You want to cut everything at once. If you’re using the scrapbooking tape squares, skip this step.
Cut out your squares. Here’s where your cutting mat and metal ruler come in handy. Put the laminated paper on the cutting mat or stack of papers. Place your metal ruler along each set of crop marks and gently cut through the laminate, paper, and (possibly) tape. If you forgot about the cutting mat, you’ll also gently cut into your desk. One word of caution: on your last couple of cuts, the previously-cut squares will try to move out from under the knife. Run your knife lightly over the laminate once to score it, then again while pressing harder to cut it.
Optional: round the corners. If you look at the actual Rubik’s cube stickers, they’re rounded on the corners. Yours aren’t. You can fake this effect by taking your knife and clipping each square’s corner a teeny tiny amount. Don’t do too much or you’ll end up with a stop sign instead of a rounded-edge square.
Apply the stickers. If you used plain double-sided tape, peel the back off and put the squares on the cube. If you’re using scrapbooking tape squares, peel a tape square off, put it on the back of one of your squares, peel off the backing, and apply the square.
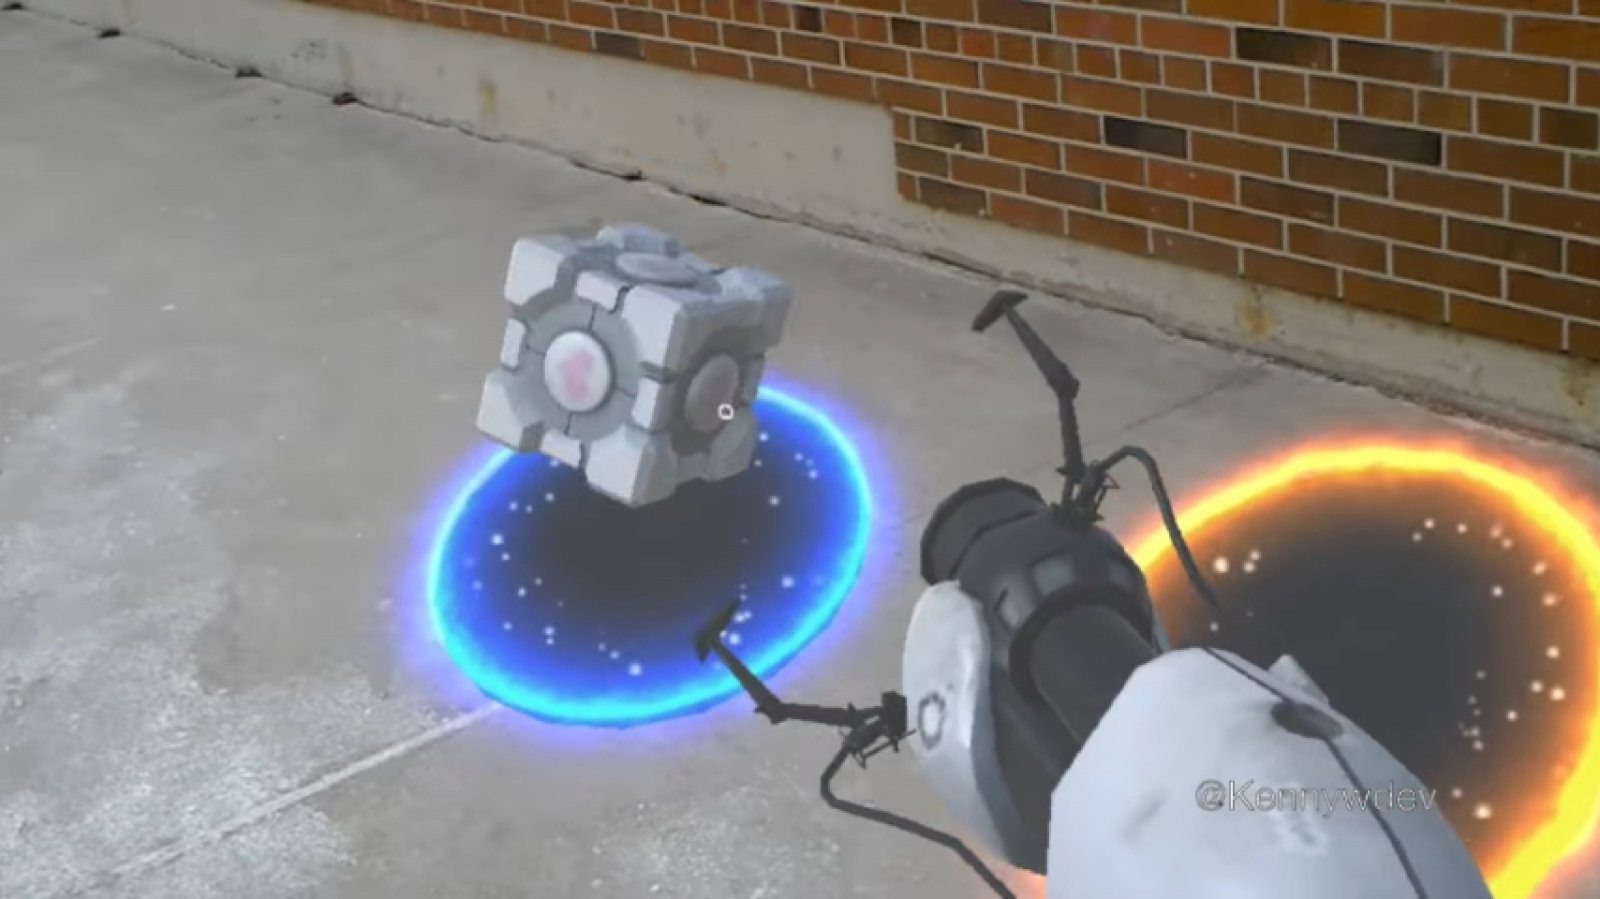
Il risultato sarà il vostro splendido Companion Cube in stile Portal con cui potrete fare numerose attività come potete vedere dalle immagini: ascoltarlo, amarlo, giocare ai videogames e addirittura uscire per un appuntamento galante! :-D
[spoiler]Ovviamente durante tutto il tempo di preparazione la canzone di sottofondo dovrà essere NECESSARIAMENTE questa…
Per chi invece non volesse sbattersi troppo c’è anche la versione in semplice carta ripiegata (vedi qui).
")
")
")
")
Fonte granades.com