How to 3-Point Lighting
Three-Point Lighting is the basic lighting setup to use when you want to get great looking shots of people you’re filming.
It seems self-explanitory — you want to light the subject so you can easily see them, but using a 3-point lighting set up will make your subject look awesome and you’ll be instantly renowned as a professional.Three-point lighting is exactly what it sounds like.
You light your subject from three different sources in order to control the shadows and balance the contrast.Three Light Sources:
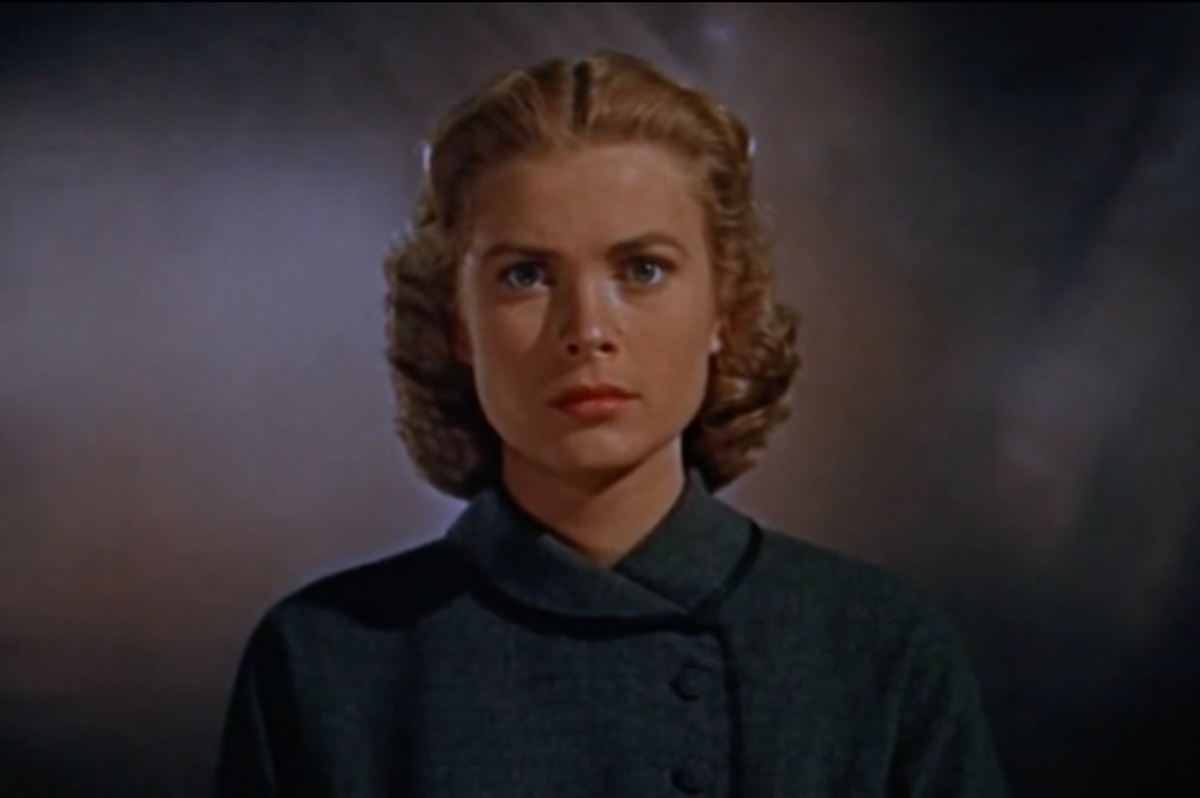
Key: This is the main light source. It shines directly on the subject, usually from the front-right or front-left. It provides the overall look and feel of the shot.
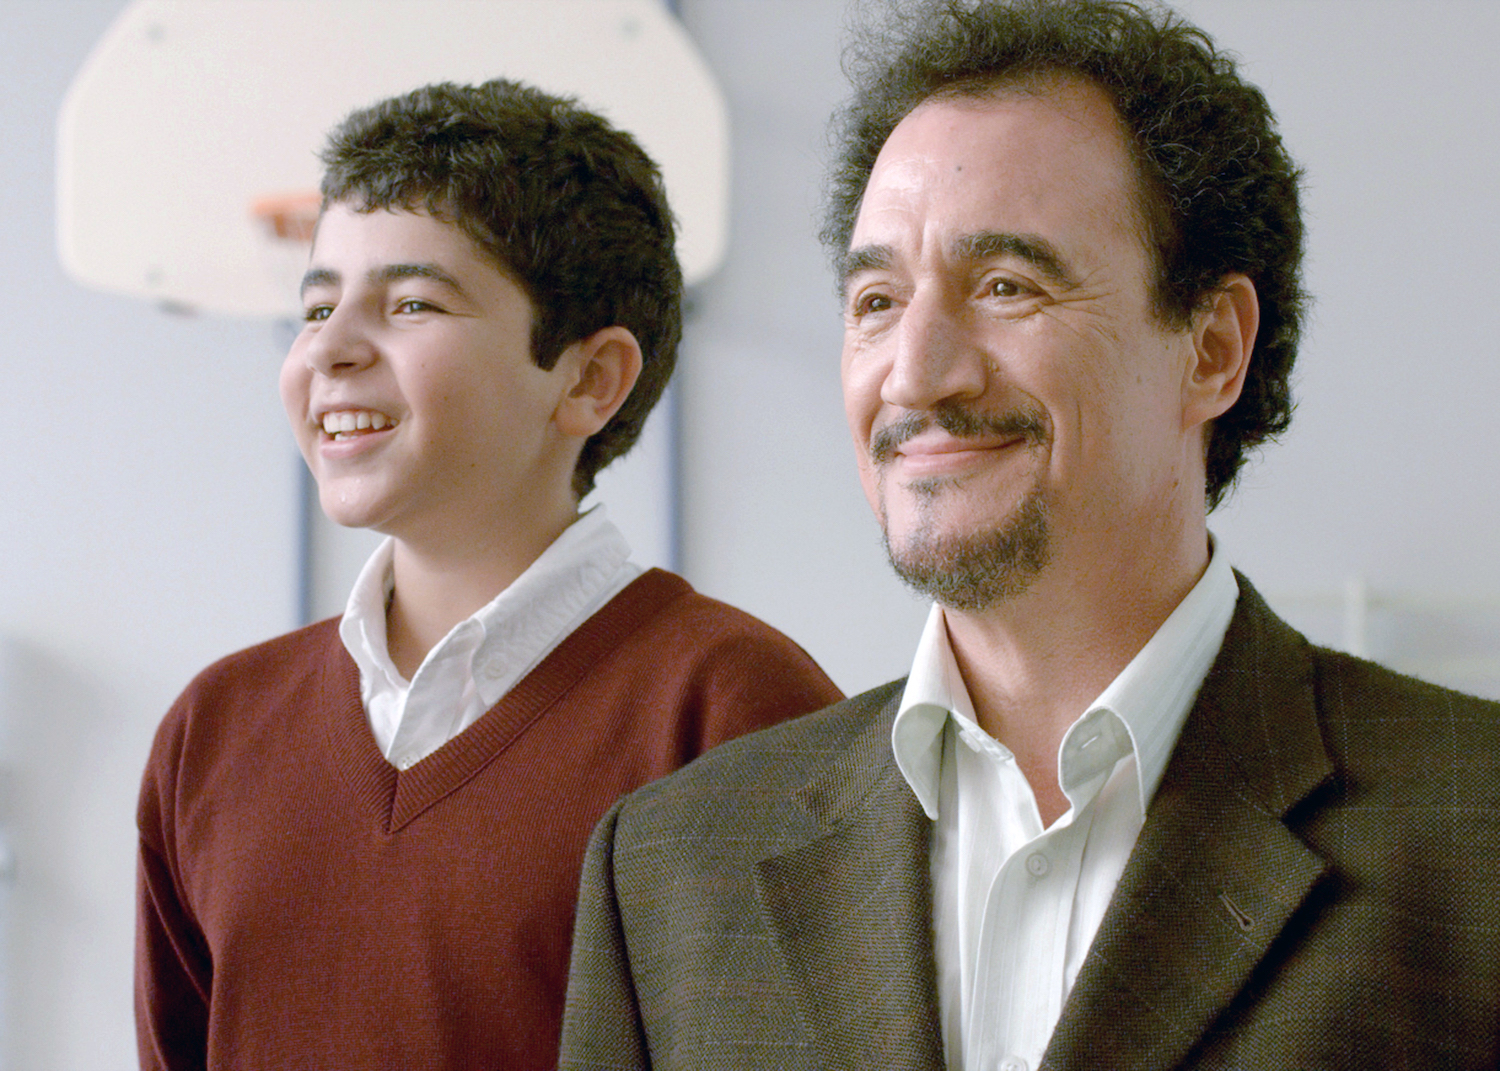
Fill: The fill provides balance to the key by filling in the rest of the subjects face with a softer light. It comes in from the front-side opposite the key light.
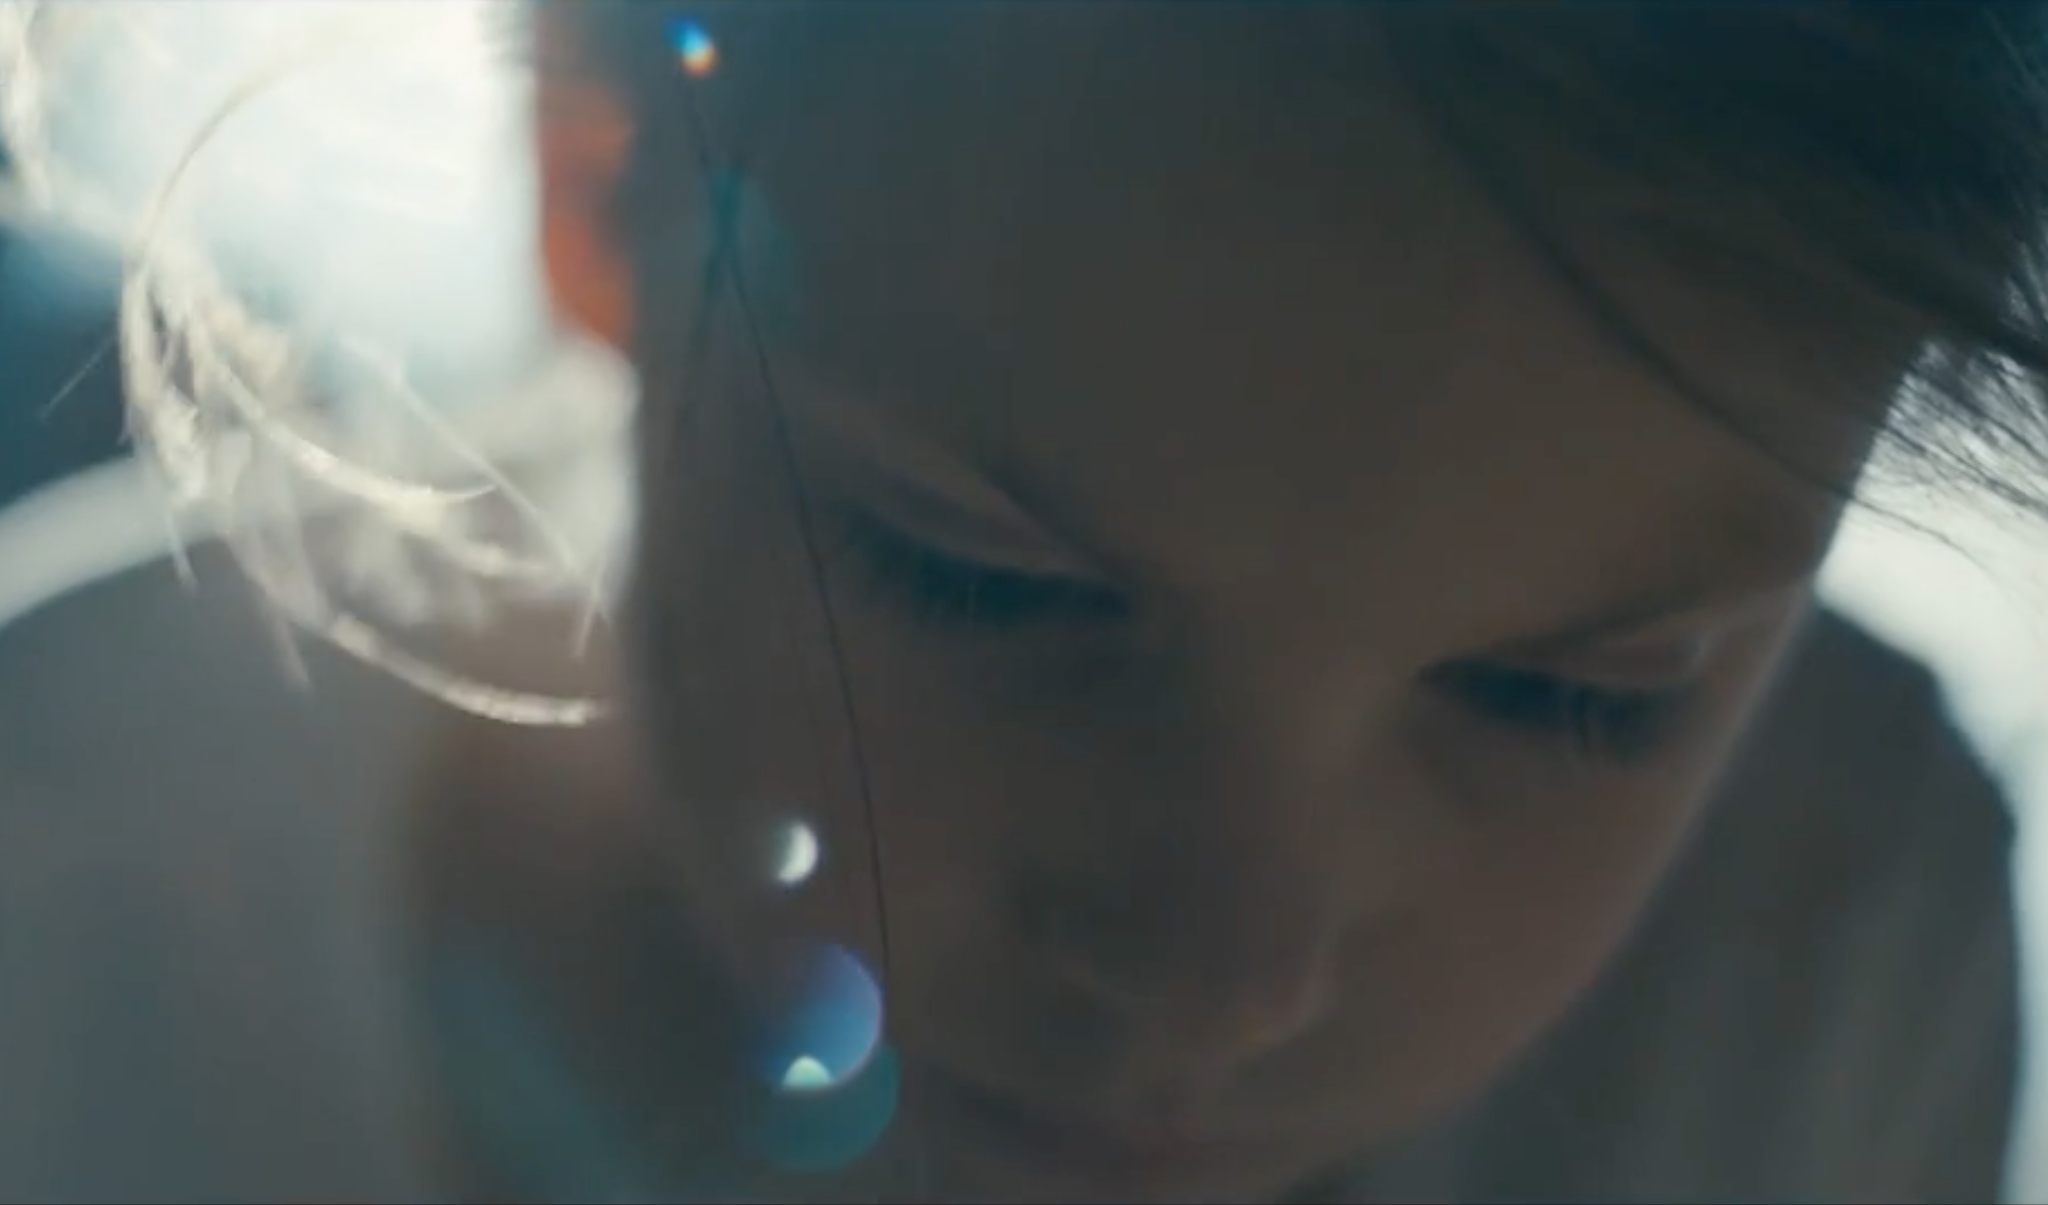
Back: The back light creates a nice rim of light around the back the subject, separating them from the background. It can also be called a “hairlight” or “rim-light”.How to Setup 3-Point Lighting:
Start in the dark. Begin with all of your lights off, and as little other ambient light as possible. This will help you differentiate between the three lights that you will be adding.
Add your key light. Your key light is the brightest light in the scene and creates the overall feel of the shot. Adjust its brightness to your liking. It’s recommended to angle the key light about 30 degrees the right or the left of the subject. Another good tip is to have the key light nice and high, to reduce shadows on the face.
Add your fill light. The fill light should be on the opposite side of the key, but still in the front. A good tip is to not make the key and fill symmetrical. The fill should be at face-level of the subject, and should fill in the remaining shadows. The intensity of the fill light should be about half of the key light.
Add your back light. And finally, the back light will separate your subject from the background. It can be placed anywhere behind the subject, but make sure to not get it in the shot! You’ll want to angle it down from pretty high, so as to achieve a nice outline on the edge of the subject.
L’ABC del giovine videomaker!